
Looking for new craft ideas to try out that also help with improving valuable life skills? Below are a few of our favorite fine motor skill-boosting sensory craft ideas to try out at home:
1. Nature Scavenger Hunt Collage
Materials:
- Cardstock or sturdy paper
- Markers or crayons
- Glue
- Scissors
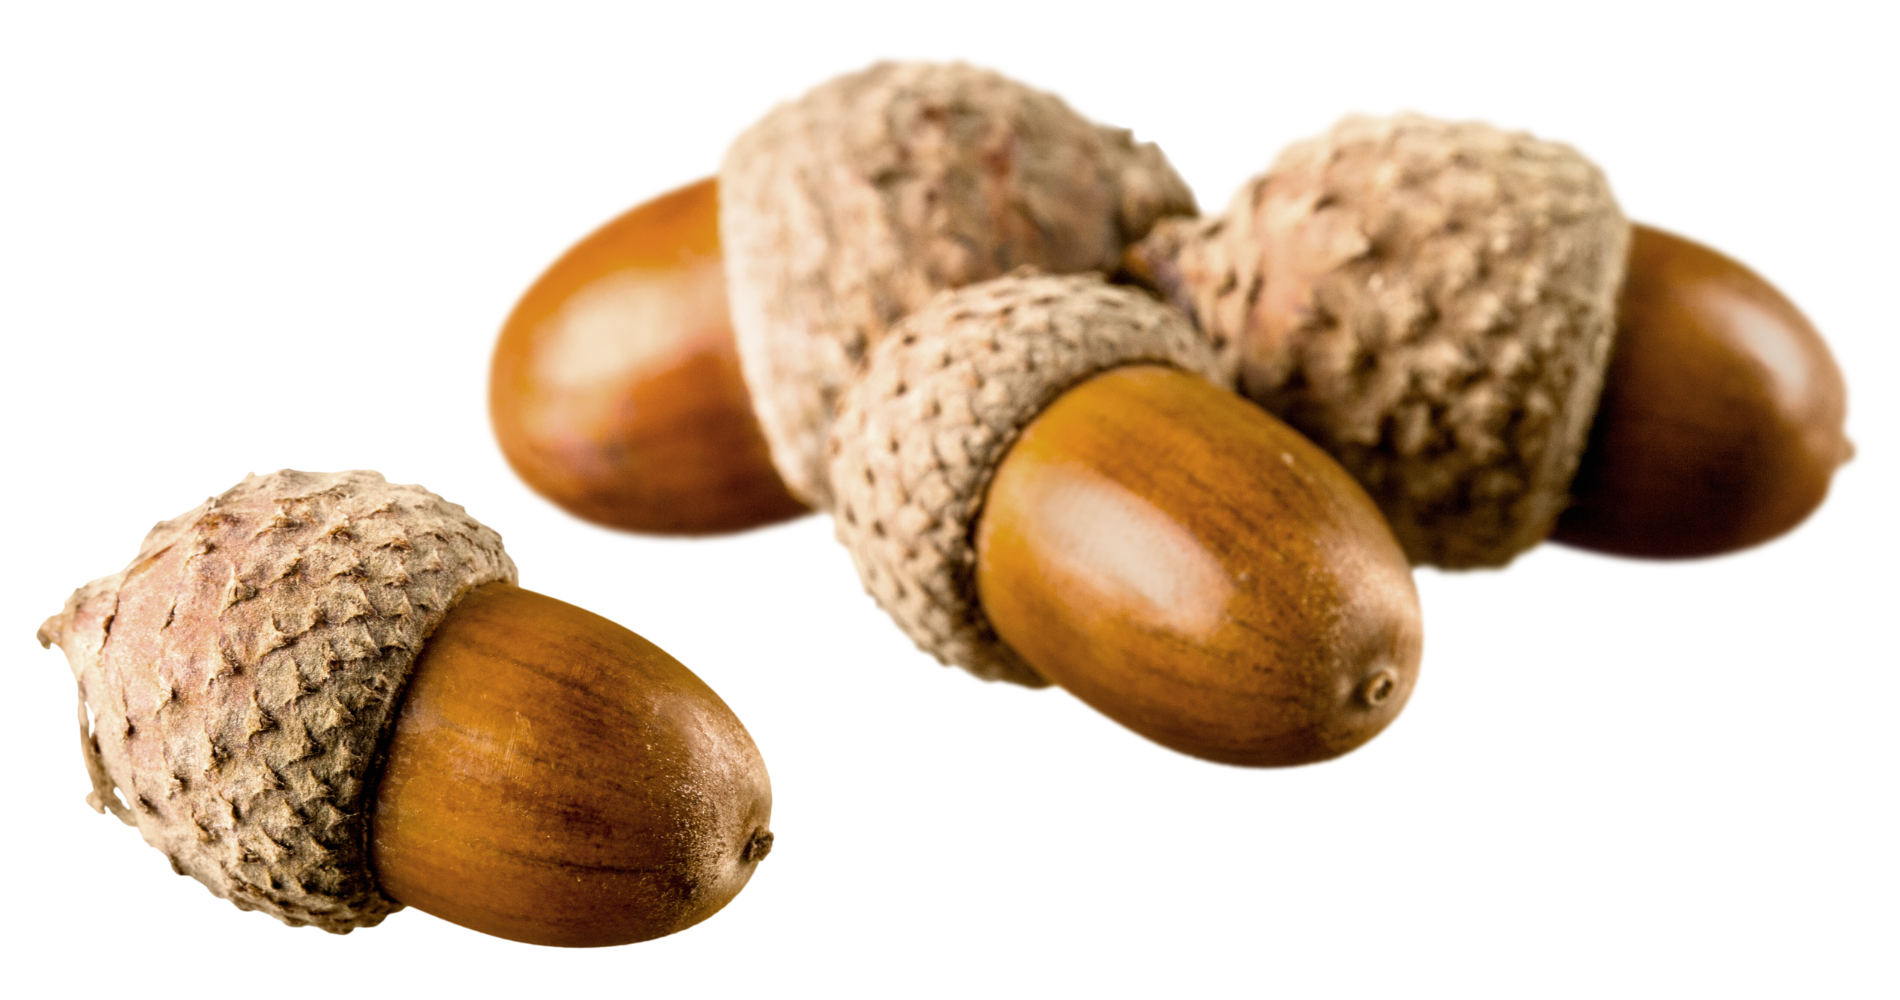
- Natural materials (acorns, leaves, flowers, twigs, stones, etc)
Directions:
- Go outside for a nature scavenger hunt, collecting natural materials.
- Once you've returned home, lay out the collected items and discuss their textures, shapes, and colors.
- Draw an outline of a scene or object on the cardstock.
- Use glue to adhere the collected natural materials onto the cardstock, filling in the outline and creating a textured collage.
- Allow the collage to dry completely before displaying or hanging it up.
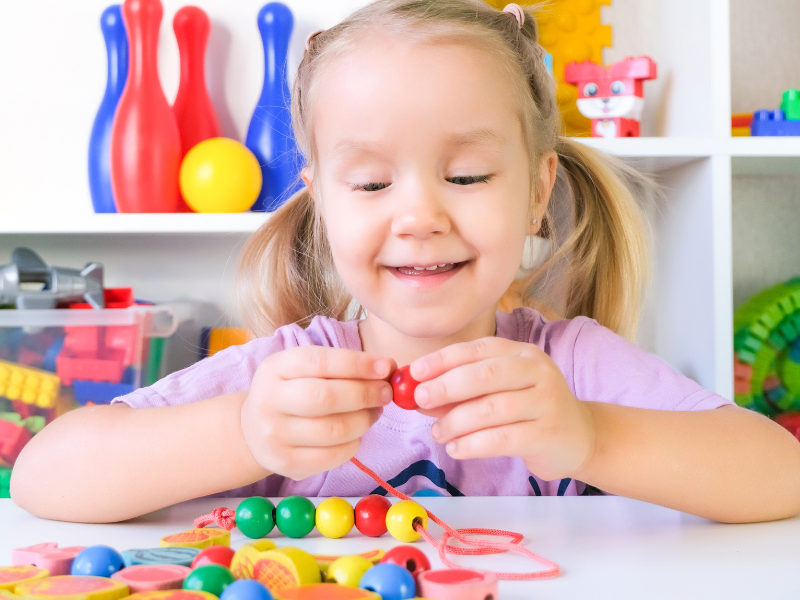
2. Pasta Threading Necklace
Materials:
- Uncooked pasta with holes (such as penne or rigatoni)
- String or yarn
- Tape (optional)
- Markers or paint (optional)
Directions:
- Give the child uncooked pasta and string.
- Thread the pasta onto the string, focusing on hand-eye coordination and fine motor skills.
- For added creativity, color or paint the pasta before threading.
- After finishing the necklace, tie the ends of the string together securely.
- Optionally, use tape to secure the knot and prevent the pasta from sliding off.
3. Sensory Playdough Mats
Materials:
- Playdough
- Textured mats or surfaces (such as silicone mats, textured fabrics, or embossed foam sheets)
- Rolling pin (optional)
- Cookie cutters (optional)
Directions:
- Offer a variety of textured mats or surfaces as options to use for this activity
- Use a rolling pin to roll out the dough (optional)
- Encourage sensory exploration by pressing the playdough onto tactile surfaces using fingers.
- Optionally, the child can use cookie cutters to cut out shapes.
- Allow the child to experiment and create freely with the playdough and textured surfaces.
4. Fine Motor Water Transfer
Materials:
- Small containers or bowls
- Squeezy droppers or pipettes
- Water
- Food coloring (optional)
- Towels or trays to catch spills
Directions:
- Fill one container with water and add food coloring (optional)
- Place empty containers or bowls next to the water-filled container.
- Use the eye droppers or pipettes to transfer water between different containers.
5. Button Sewing Cards
Materials:
- Cardstock or cardboard
- Hole puncher
- Assorted buttons
- Yarn or string
- Child-safe sewing needles (plastic or blunt-ended)
- Scissors (for adult use)
Directions:
- Cut the cardstock or cardboard into a variety of different shapes (such as squares, circles, or animals).
- Use the hole puncher to create holes around the edges of the shapes.
- Thread the yarn or string through the punched holes, weaving in and out to create patterns.
- Demonstrate how to attach buttons onto the cardstock using the yarn or string, practicing basic sewing skills.
- Encourage experimenting with different threading patterns and button placements.
- Once finished, tie off the ends of the yarn or string securely at the back of the cardstock.
- Optionally, decorate the front of the cardstock shapes with markers or stickers before sewing.
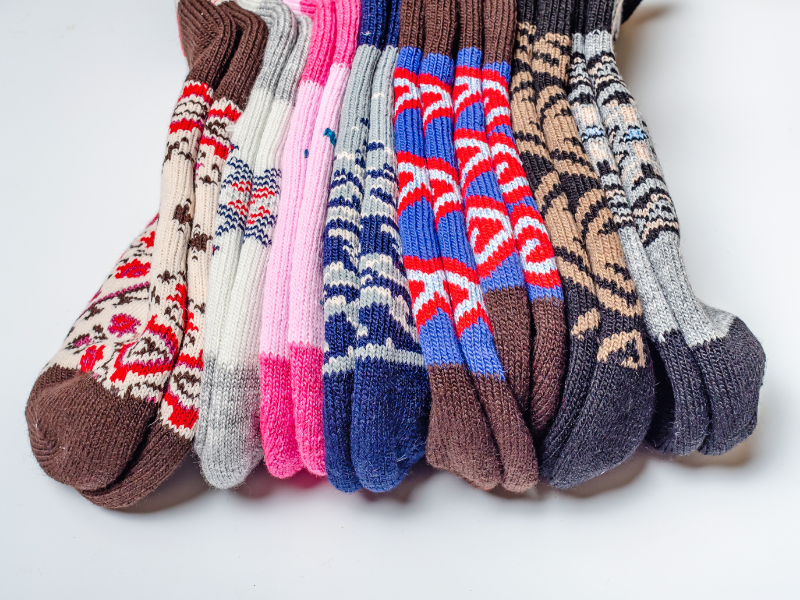
6. Sock Matching Game
Materials:
- Several pairs of socks (mix and match colors, patterns, or textures)
- A large piece of cardboard or poster board
- Marker
- Scissors
Directions:
- Cut the large cardboard or poster board into several smaller squares or rectangles to create cards.
- Draw simple shapes or symbols on each card using the marker (e.g., circles, squares, stars).
- Place the cards in a grid formation, face down, on a flat surface.
- Mix up the pairs of socks and place them in a pile next to the grid of cards.
- Invite the child to turn over two cards at a time to find matching pairs.
- When a matching pair is found, the child must roll the socks into balls and place them neatly on the matching cards.
- Continue playing until all the pairs of socks have been matched.
7. Paper Plate Weaving
Materials:
- Paper plates
- Yarn or ribbon in various colors
- Child-safe scissors
- Hole puncher
- Pencil or marker
Directions:
- Draw evenly spaced lines around the perimeter of the paper plate, creating slots for weaving.
- Use the hole puncher to make a hole at the end of each line.
- Cut a piece of yarn or ribbon and tie one end to one of the holes on the rim of the paper plate.
- Guide the child to weave the yarn or ribbon in and out of the slots, moving around the plate.
- When finished, tie off the end of the yarn or ribbon to secure it in place.
8. Texture Collage Book
Materials:
- Assorted textured materials (fabric scraps, sandpaper, felt, aluminum foil)
- Construction paper or cardstock
- Glue
- Scissors
- Markers or crayons
Directions:
- Cut construction paper or cardstock into smaller rectangles to create pages for the collage book.
- Encourage exploring different textures and select materials for each page.
- Glue the textured materials onto the pages, creating a collage of textures.
- Once the pages are complete, stack them together and staple or bind them to form a book.
- Encourage using markers or crayons to add drawings or labels to the pages, describing the textures.
More articles you might enjoy:
Fun Sensory Recipes & DIY Craft Ideas To Try At Home
5 Fun Sensory Crafts To Try This Week